Building an ESP32-based Smart Switch with LVGL Display: Part 1 - Basic Setup and Display
Project Intro
Welcome to our series on building a sophisticated ESP32-based smart switch! Our final product will feature a touch-enabled LVGL display, WiFi connectivity, MQTT integration for remote control, and audio feedback. This powerful device will allow you to control your home appliances with style and ease.
In this first post, we'll focus on setting up the foundation of our project: configuring the ESP32 and getting a basic display up and running. By the end of this tutorial, you'll have a working ESP32 setup with a simple LVGL interface displayed on screen.
Let's dive in!
Important Note on Libraries and Hardware
This project utilizes the following libraries and hardware:
ArduinoGFX Library: Version 1.4.7 (the latest as of this writing)
LVGL Library: Version 8.3.11
While newer versions (9.x) of LVGL exist, we're using 8.3.11 for two reasons:
* Compatibility with the Squareline software, which will be used in later parts of this series.
* Long-term support for the 8.x versions.
Hardware: WT32SC01 board (standard version, not the Plus variant)
While this guide is tailored for the WT32SC01 board, you can make minor adjustments to adapt it for other hardware. The principles and most of the code will remain applicable across various ESP32-based boards with suitable displays.
WT32-SC01 Board Config
TFT (ST7796)
- TFT_RST=22
- TFT_SCLK=14
- TFT_DC=21
- TFT_CS=15
- TFT_MOSI=13
- TFT_MISO=-1
- TFT_BCKL=23
Touch (FT6336U)
- TOUCH_SDA=18
- TOUCH_SCL=19
- I2C_TOUCH_ADDRESS=0x38
Step-by-step Instruction
Step 1: Setting up the Arduino IDE and ESP32 board
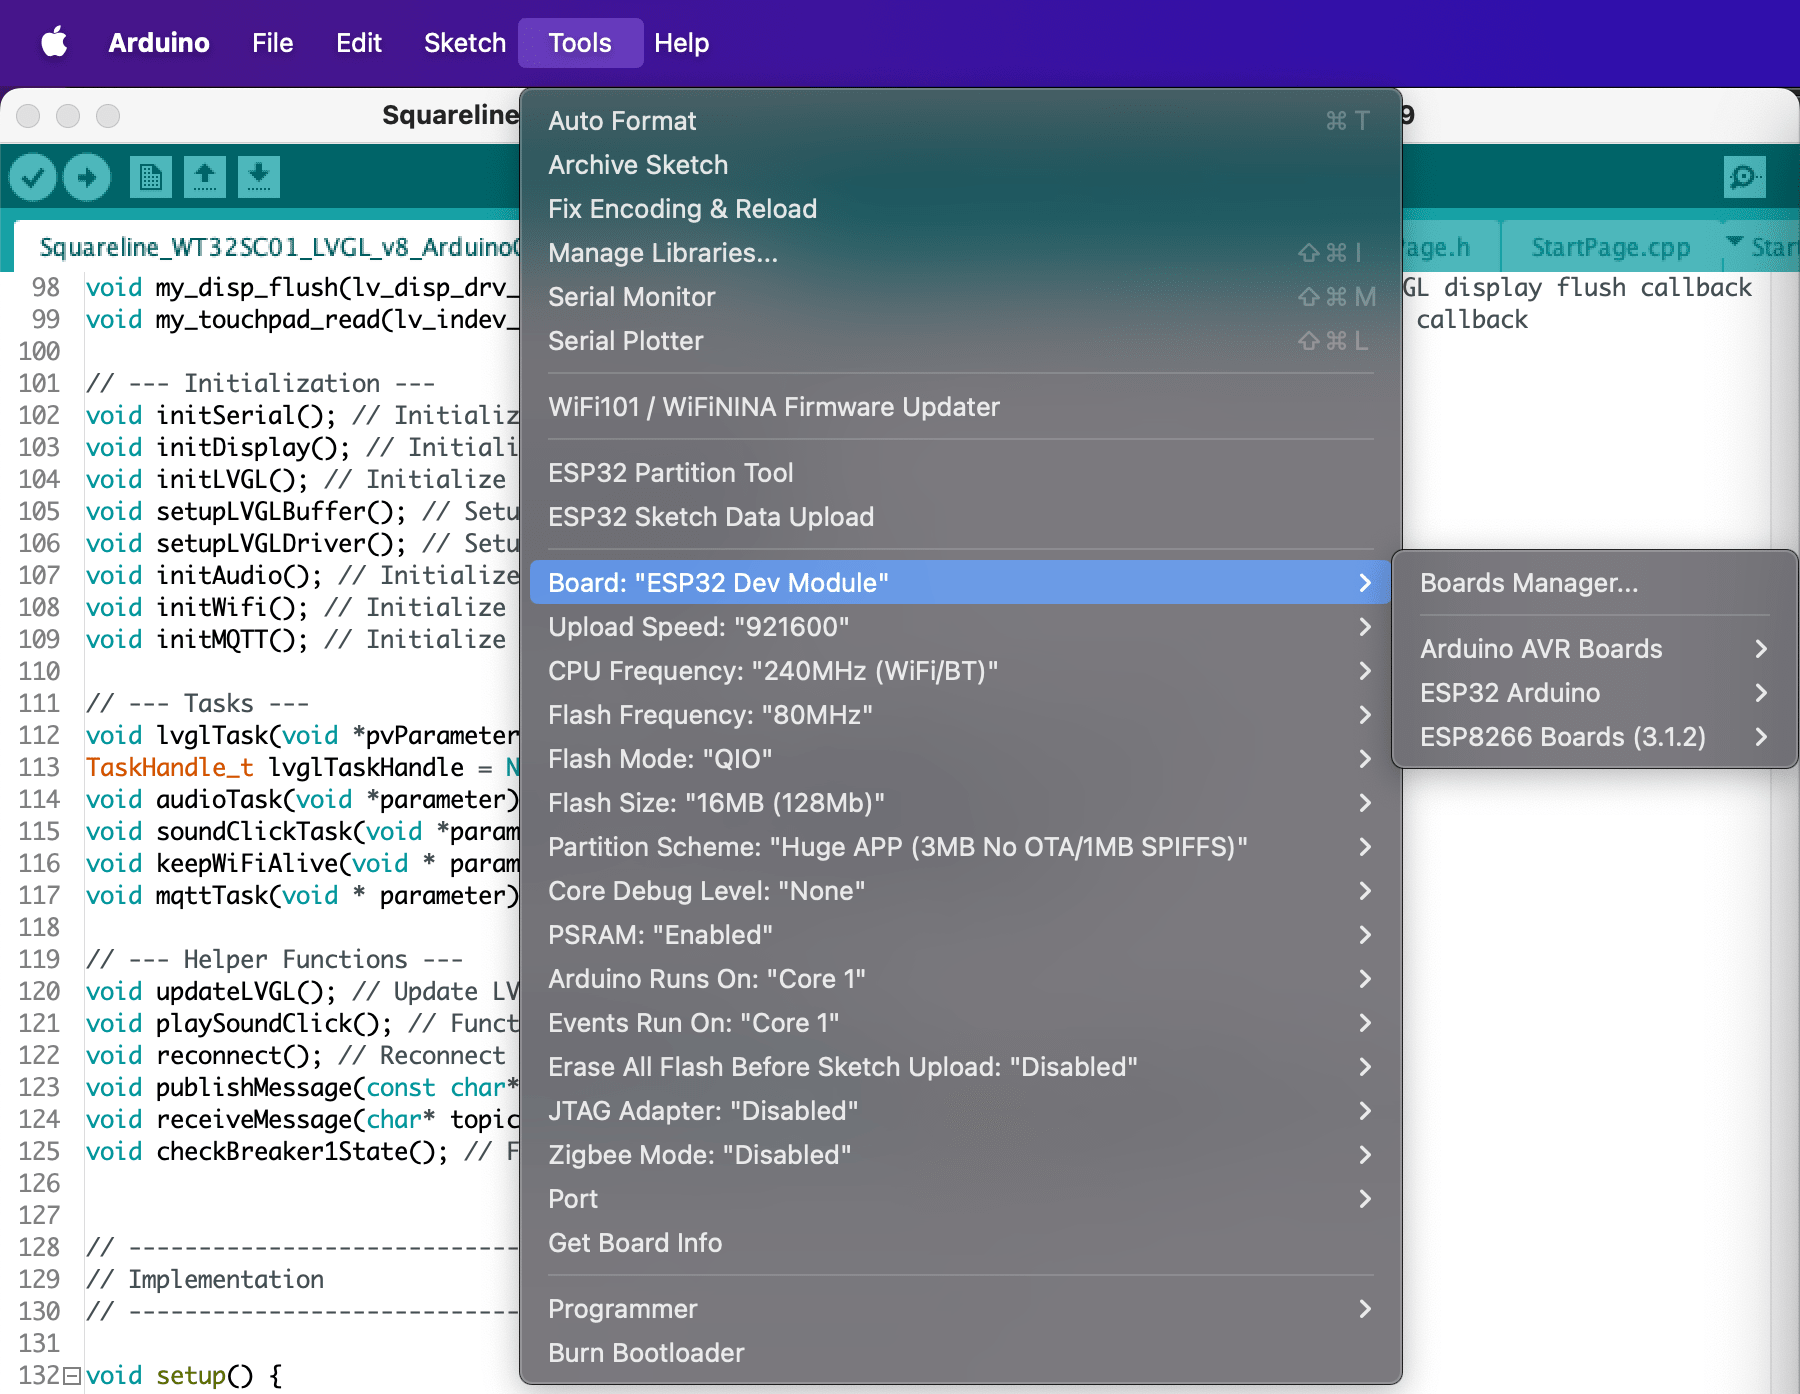
First, ensure you have the Arduino IDE installed and configured for ESP32 development. If you haven't done this yet, follow these steps:
- Download and install the Arduino IDE from the official website.
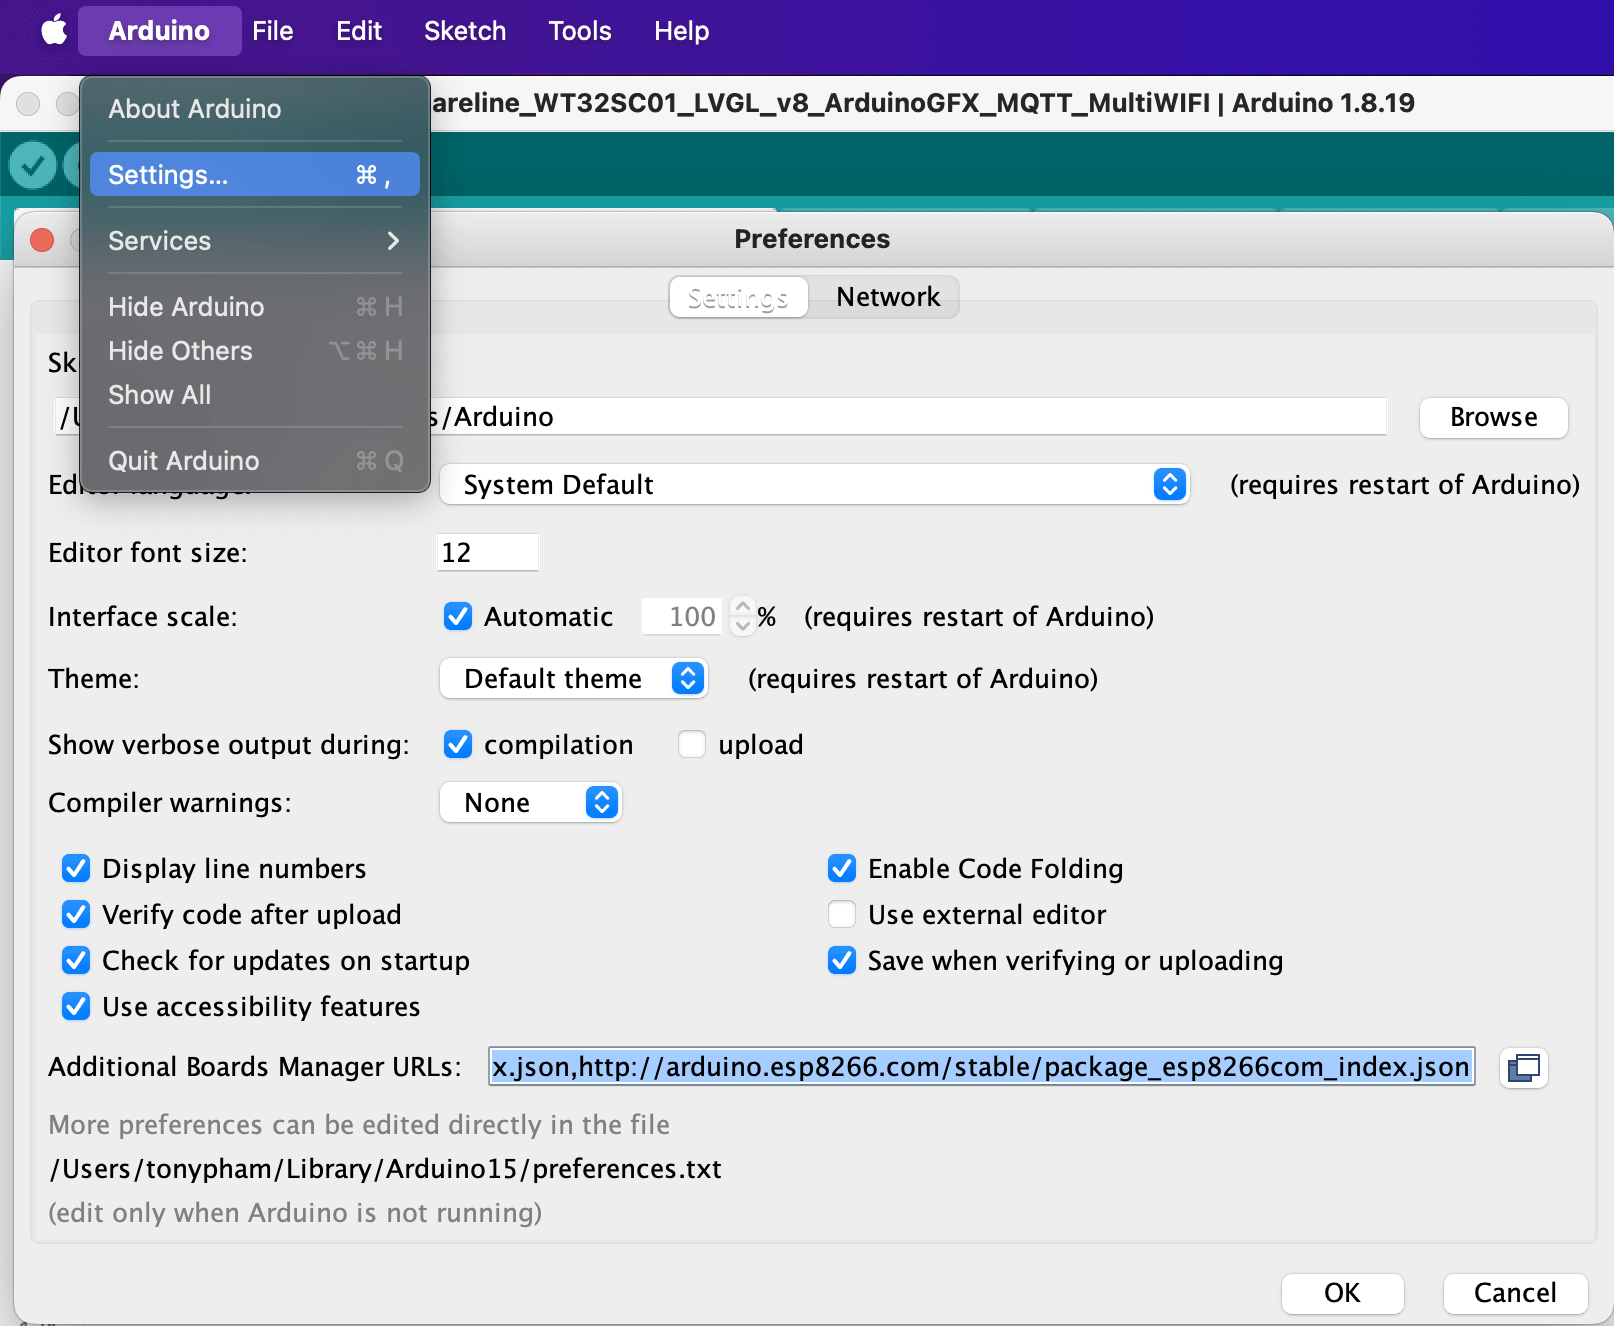
- Open Arduino IDE, go to File > Preferences (or Arduino > Settings in MacOS).
- In "Additional Board Manager URLs", add:
https://raw.githubusercontent.com/espressif/arduino-esp32/gh-pages/package_esp32_index.json - Go to Tools > Board > Boards Manager, search for "esp32" and install the ESP32 board package.
- Select your ESP32 board from Tools > Board > ESP32 Arduino.
Step 2: Installing Required Libraries
We'll need two main libraries for this part of the project:
- Arduino_GFX: A hardware-agnostic graphics library.
- LVGL: A powerful and easy-to-use embedded GUI library.
To install these:
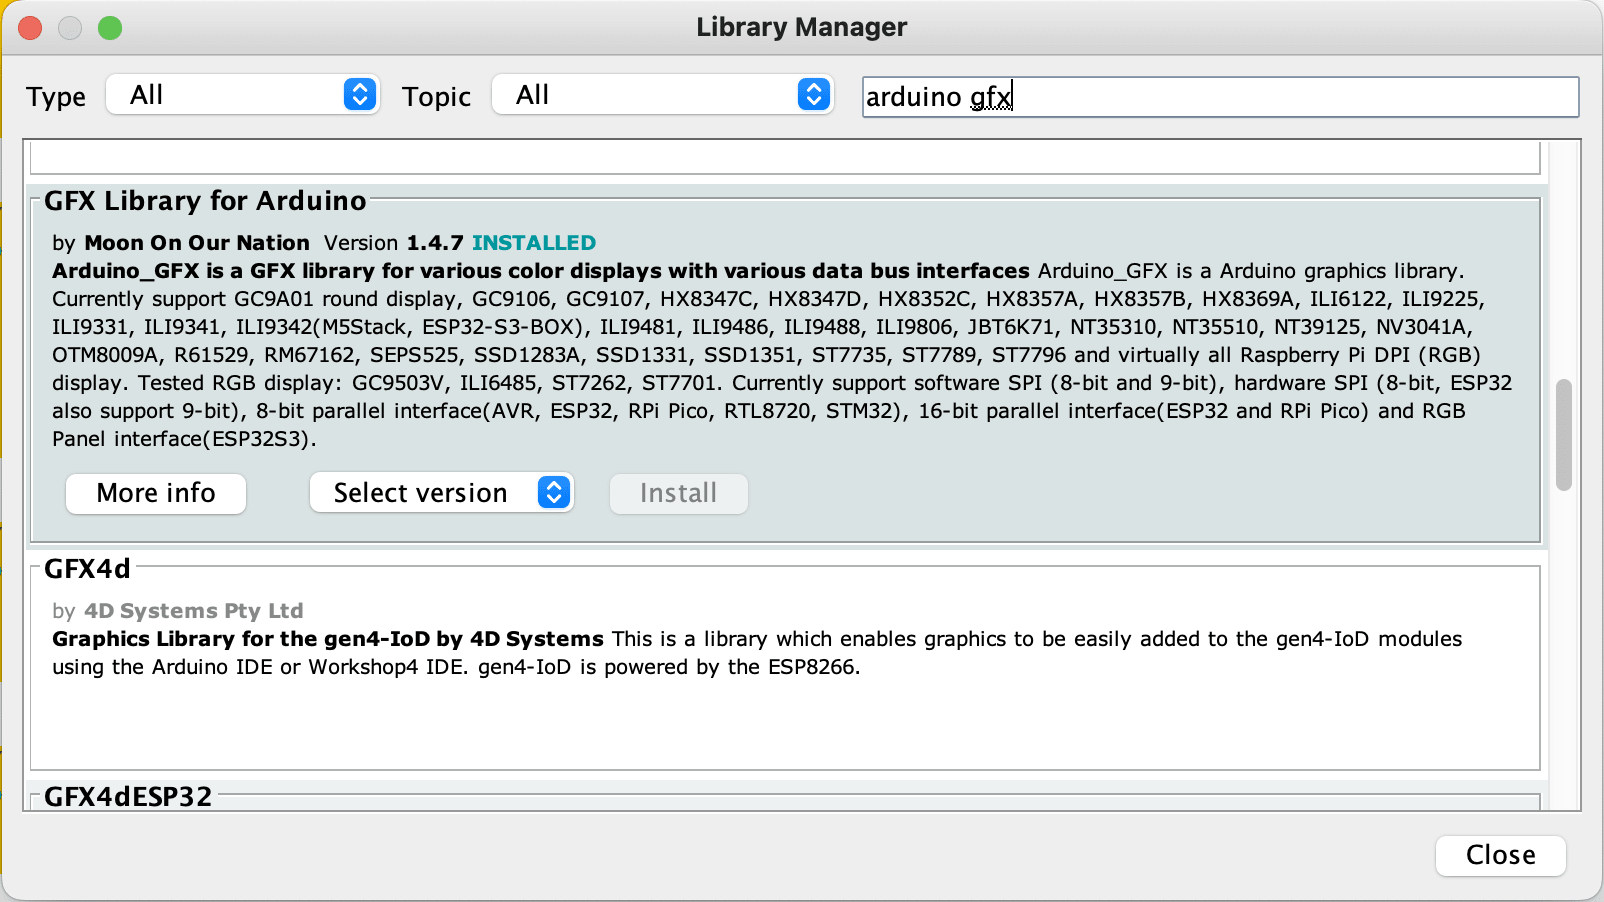
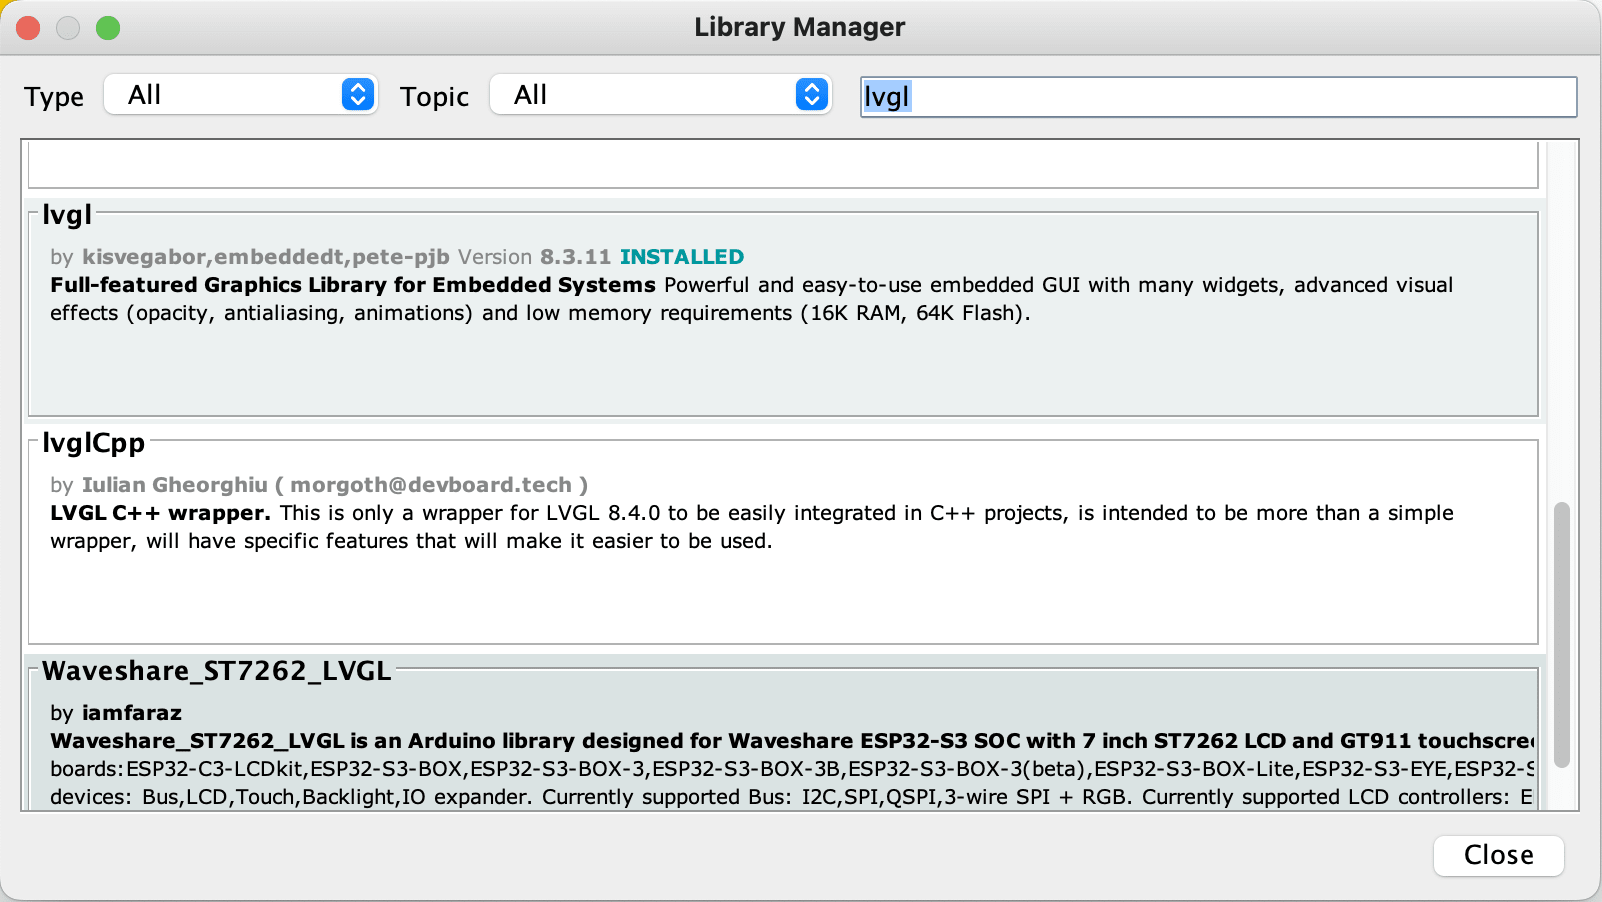
- Go to Tools > Manage Libraries in the Arduino IDE.
- Search for "arduino gfx" and install the version 1.4.7.
- Search for "lvgl" and install the version 8.3.11.
After installing LVGL v8.3.11, you will need to configure the lv_conf.h in the folder Arduino > libraries with this attached lv_conf.h. (download > replace the old file)
Step 3: Basic Code Structure
Let's start with the basic structure of our Arduino sketch:
#include <Arduino.h>
#include <Arduino_GFX_Library.h>
#include <lvgl.h>

#define GFX_BL 23 // Backlight control pin

// Display setup
Arduino_DataBus *bus = new Arduino_ESP32SPI(21 /* DC */, 15 /* CS */, 14 /* SCK */, 13 /* MOSI */, GFX_NOT_DEFINED /* MISO */);
Arduino_GFX *gfx = new Arduino_ST7796(bus, 22 /* RST */, 3 /* rotation */, false /* IPS */);

static const uint32_t screenWidth = 480;  // Screen width
static const uint32_t screenHeight = 320; // Screen height

static lv_disp_draw_buf_t draw_buf;    // LVGL draw buffer
static lv_color_t *disp_draw_buf;      // LVGL color buffer
static lv_disp_drv_t disp_drv;         // LVGL display driver

// Function declarations
void initDisplay();     // Initialize display
void initLVGL();        // Initialize LVGL
void setupLVGLBuffer(); // Setup LVGL buffer
void setupLVGLDriver(); // Setup LVGL driver
void createSimpleUI(); // Create a simple user interface

// Callback function to flush data from LVGL buffer to the display
void my_disp_flush(lv_disp_drv_t *disp_drv, const lv_area_t *area, lv_color_t *color_p);

void setup() {
  Serial.begin(115200);

  initDisplay();
  initLVGL();
  createSimpleUI();
}

void loop() {
  lv_timer_handler(); // Handle LVGL tasks
  delay(5);
}

// Initialize and configure the display
void initDisplay() {
  gfx->begin();
  gfx->fillScreen(BLACK);

  #ifdef GFX_BL
    pinMode(GFX_BL, OUTPUT);
    digitalWrite(GFX_BL, HIGH);
  #endif
}

// Initialize LVGL and related components
void initLVGL() {
  lv_init();
  setupLVGLBuffer();
  setupLVGLDriver();
}

// Setup buffer for LVGL
void setupLVGLBuffer() {
    uint32_t bufSize = screenWidth * 40;
    disp_draw_buf = (lv_color_t *)heap_caps_malloc(bufSize * sizeof(lv_color_t), MALLOC_CAP_INTERNAL | MALLOC_CAP_8BIT);
    if (!disp_draw_buf) {
        Serial.println("LVGL disp_draw_buf allocate failed!");
        return;
    }
    lv_disp_draw_buf_init(&draw_buf, disp_draw_buf, NULL, bufSize);
}

// Setup display driver for LVGL
void setupLVGLDriver() {
  lv_disp_drv_init(&disp_drv);
  disp_drv.hor_res = screenWidth;
  disp_drv.ver_res = screenHeight;
  disp_drv.flush_cb = my_disp_flush;
  disp_drv.draw_buf = &draw_buf;
  lv_disp_drv_register(&disp_drv);
}

// Create a simple user interface with a label
void createSimpleUI() {
  lv_obj_t * label = lv_label_create(lv_scr_act());
  lv_label_set_text(label, "Hello, ESP32-WT32SC01!");
  lv_obj_align(label, LV_ALIGN_CENTER, 0, 0);
}

// Callback function to flush data from LVGL buffer to the display
void my_disp_flush(lv_disp_drv_t *disp_drv, const lv_area_t *area, lv_color_t *color_p) {
  uint32_t w = (area->x2 - area->x1 + 1);
  uint32_t h = (area->y2 - area->y1 + 1);

  #if (LV_COLOR_16_SWAP != 0)
  gfx->draw16bitBeRGBBitmap(area->x1, area->y1, (uint16_t *)&color_p->full, w, h);
  #else
  gfx->draw16bitRGBBitmap(area->x1, area->y1, (uint16_t *)&color_p->full, w, h);
  #endif

  lv_disp_flush_ready(disp_drv);
}
Step 4: Upload and Test
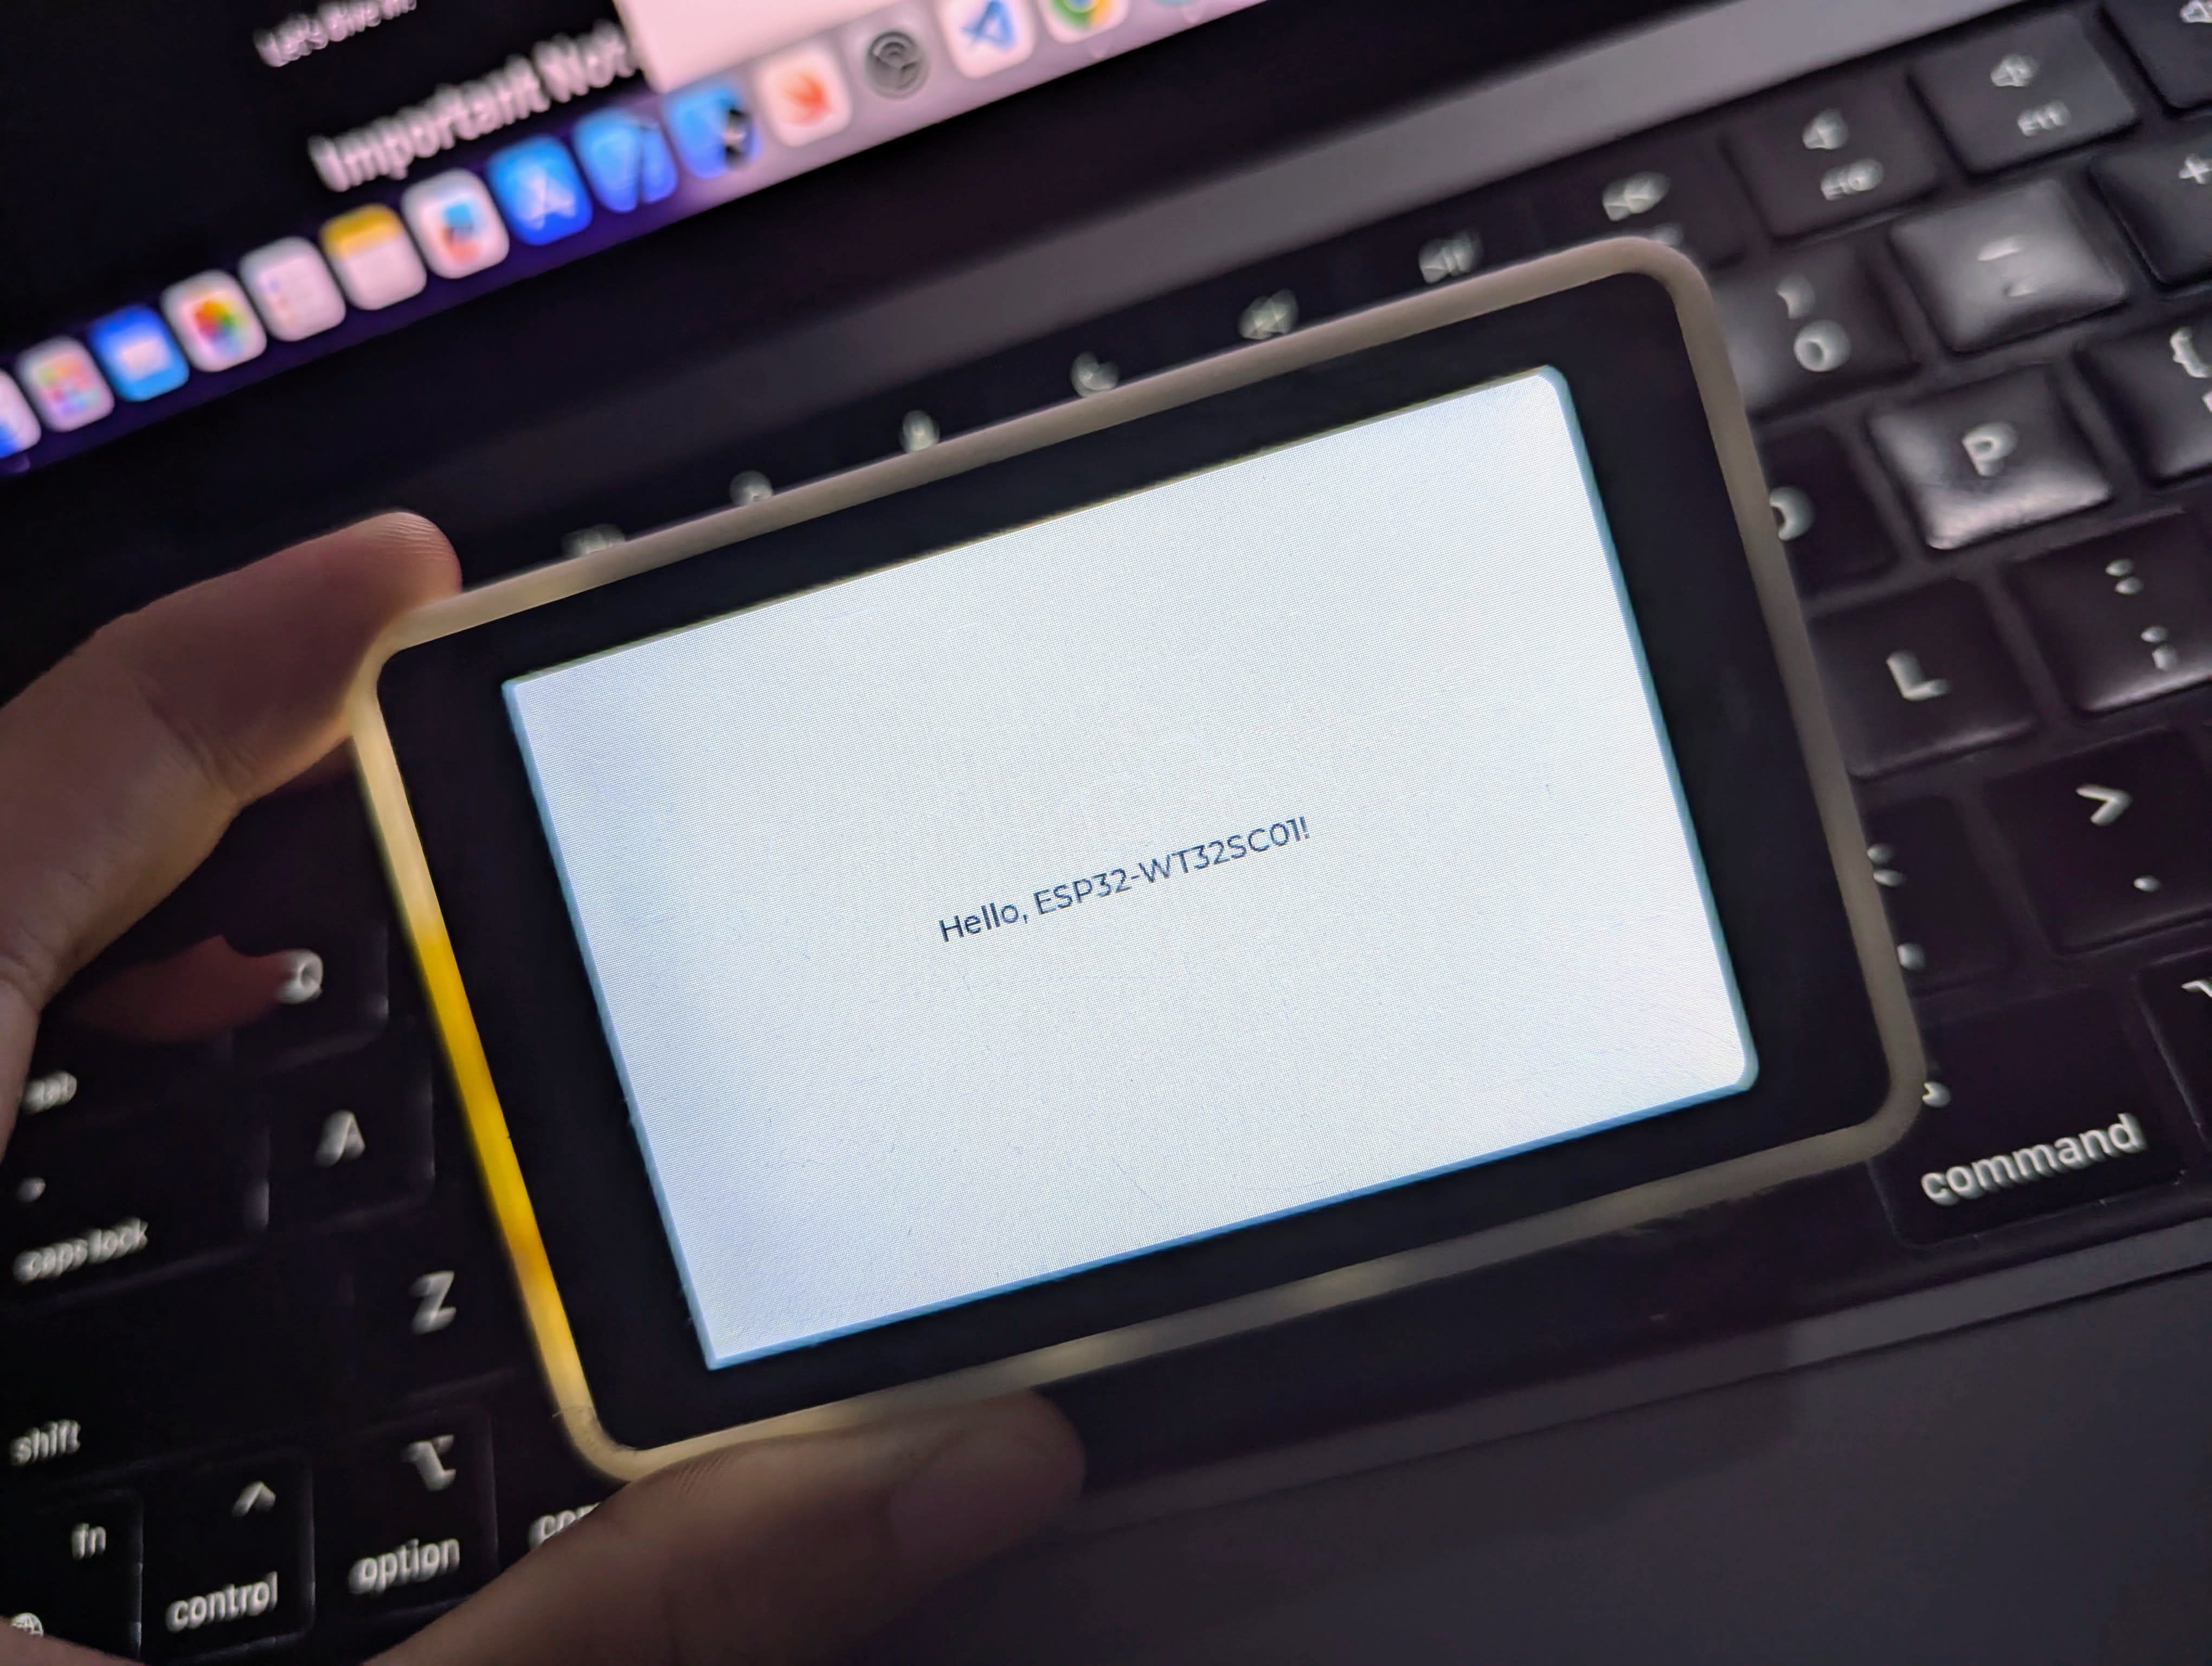
Compile and upload this code to your ESP32. If everything is set up correctly, you should see "Hello, ESP32-WT32SC01!" displayed on your screen.
Congratulations! You've successfully set up the basic structure for our ESP32 smart switch project. You now have a working ESP32 with a display showing a simple LVGL interface.
Code Explain
Unlock the secrets of this project! Subscribe for a detailed code walkthrough.
